
Easy-to-remove painter's tape has become the paint edging device of choice for most do-it-yourselfers because of its predictability and low-stick qualities. By contrast, painting without tape might seem difficult, unnecessary, and even a bit quaint. Painting alongside an edge without a protective border can indeed be a nerve-wracking experience. Yet painting wall, ceiling, and trim edges without tape is more than just an artistic flourish. It is a common practice, particularly among time-starved professional painters. Do-it-yourselfers, too, can enjoy many of the benefits that cutting-in paint can offer.
The Spruce / Margot Cavin
Which method takes longer to do and which one produces the best results? Is it possible to learn how to freehand your paint edges, avoiding tape altogether, even if you think you are not a born artist? Yes, it is possible, but it does take some practice to get it perfect.
Painting With Painter's Tape
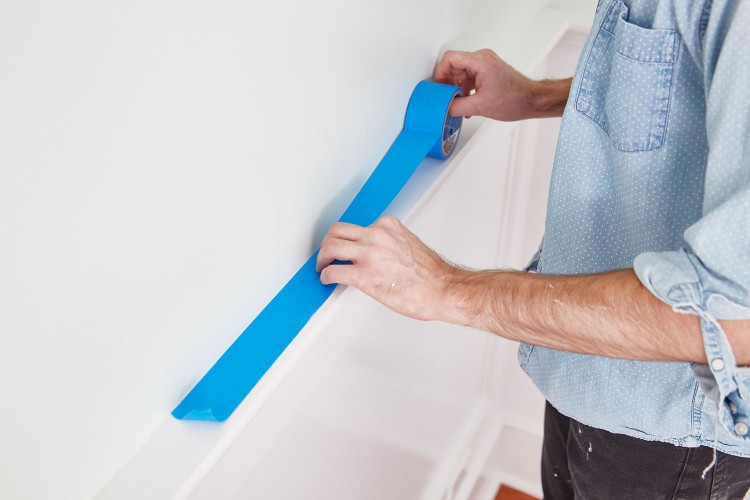
With this method, a special painter's tape ranging from 1-inch to 3 inches wide is applied to one side of two adjacent areas, where one side will be painted and the other side will not. The tape is applied to the non-painted area.
Low-tack painter's tape removes with no sticky residue and is the only kind of tape you should use. Paint lightly against the tape. Let this first coat dry, then paint a second coat. Remove the tape after the paint has thoroughly dried.
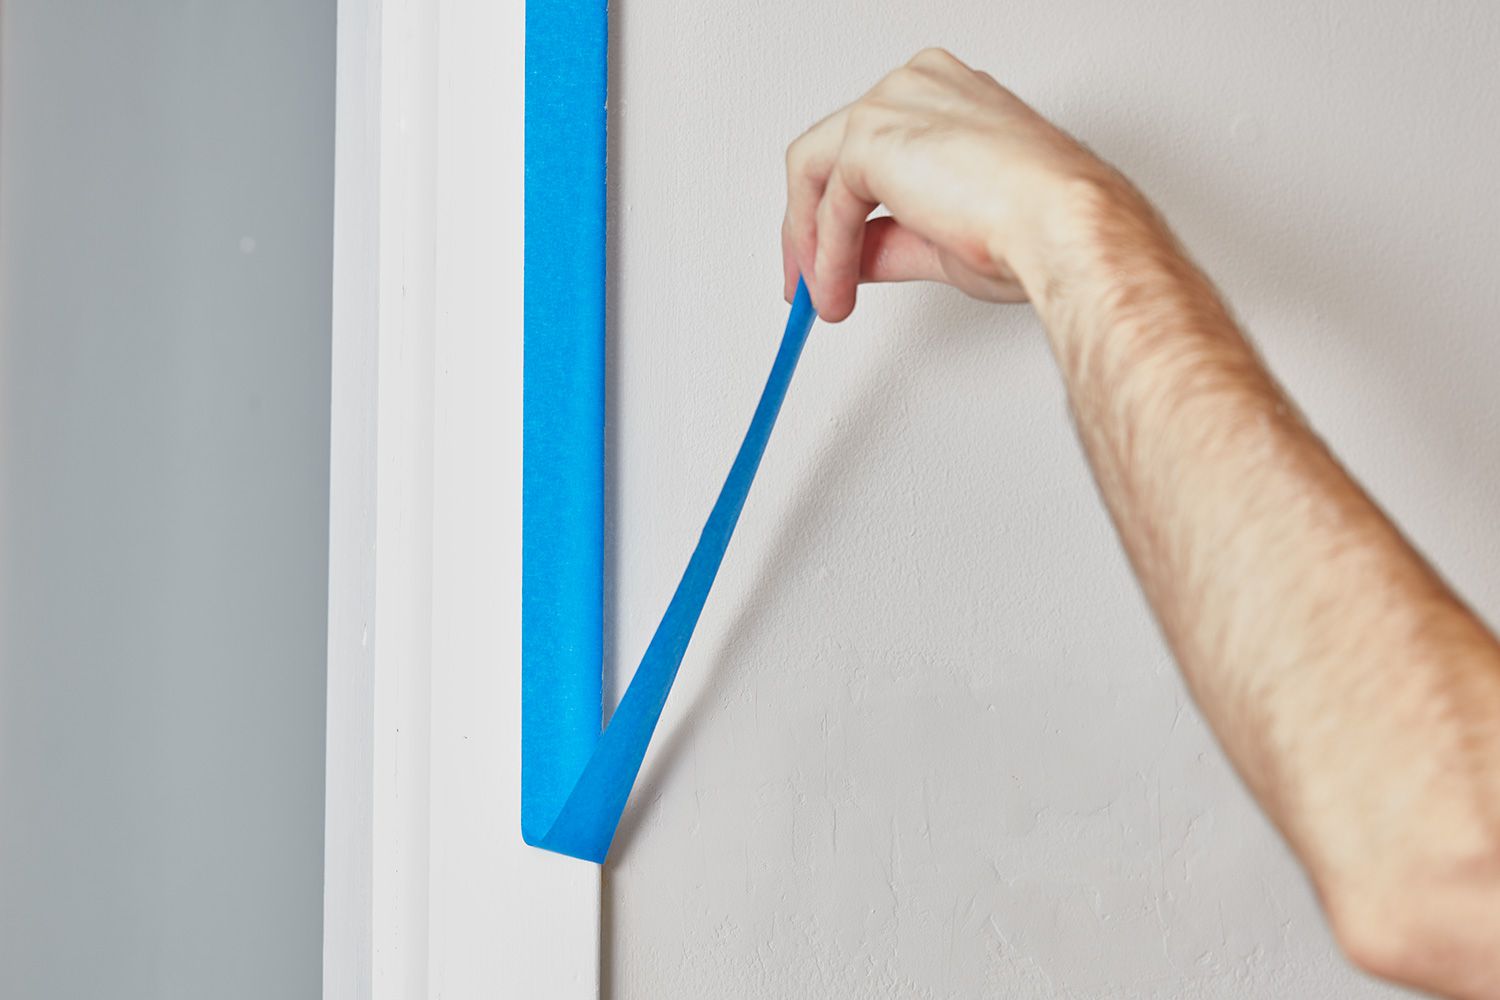
One aspect of using painter's tape that is rarely mentioned: Though cutting-in has a learning curve, applying painter's tape does, as well. Laying painter's tape at the junction between walls and ceilings can be difficult, more so when one of the surfaces is not straight. Painter's tape is not fool-proof, either. Failure to press down all sections of the tape will result in paint bleed-through.
Best for amateur painters and others unsure of their painting abilities
Creates sharp lines
Fast (once the tape has been applied)
Paint can bleed through under the tape
Difficult to apply on uneven surfaces
Painter's tape is expensive
Painting Without Tape or Cutting-In
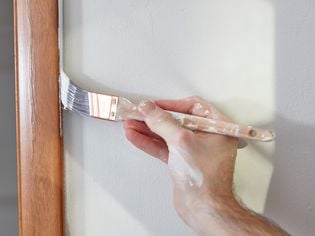
Favored by professional painters, the cut-in method is pure freehand painting. No tape is used. Metal or plastic masking guards are not used, either. Using an angled sash brush and a special cut bucket (a small paint can without a lip), draw wide sweeps of paint close to but not touching the excluded area.
Removes an additional step from the painting process, saving time
Less expensive, as painter's tape can be fairly pricey
Gives better control on complicated areas
Requires a steady hand
No protection if you should slop over on the other side
Special brush required
Should You Paint Without Tape or Not?
Generally, most do-it-yourselfers can expect to see the cleanest results by using painter's masking tape rather than cutting-in the paint. While the painter's tape method loads you up with more work on the front end, it delivers less aggravation and mess on the back end.
As an added benefit to the masking method, when you use 2-inch wide or greater painter's tape, you protect excluded areas from paint rollers. Two inches is approximately the width of the zone where the side of your paint roller cover might accidentally touch.
Using painter's tape, though, is not a guarantee that you will end up with perfect, razor-sharp paint lines. A few things can go wrong. Paint bleed-through is, by far, the most common reason why your masked paint lines are blurry or drippy. Make sure that when you apply the tape, you press firmly down with your fingertip to prevent paint seepage. The bleed-through problem is exacerbated when the tape is applied to surfaces that are not flat, such as stipple, cottage cheese, orange peel, or knock-down textures.
Often, wall-to-wall or wall-to-ceiling angles are not perfectly 90 degrees. For problem areas like these, the best solution is often to step back the line by 1/8-inch or so. The ceiling white may extend 1/8-inch down the wall or, conversely, the wall color may extend slightly into the ceiling white area.
Tips For Painting Without Tape
- Short touch-ups of less than 4 inches or so can be cut in relatively cleanly, even by amateur painters.
- If the excluded area is glossy and will not stain from the paint pigment, you can accidentally slop over into that area and still wipe it relatively clean.
- Smaller brushes are easier to control than large ones.
- Use a good quality angled brush.
- Have a cotton cloth in your pocket so you can quickly mop up drips.
Items to Remove or Not Remove Before Painting
Always Remove
It is always best to remove these items rather than masking them off or cutting around them.
- Sconce lights
- Thermostat boxes
- Mini-blinds and curtain fixtures
- Light switch plates
- Outlet plates
- Door hinges alone
- Ceiling light fixtures
Sometimes Remove
Some items can be removed with moderate ease. Removal depends on your personal inclination and how much time you want to put into the project.
- Doors removed from hinges
- Trim around interior doors
- Trim around interior windows
- Baseboards
Never Remove
Some items or room elements are too difficult to warrant removal or they cannot be removed at all.
- Crown molding
- Ceiling medallions
- Adjacent walls or support beams
- Built-in furniture such as bookcases
- Baseboards heavily stuck onto the walls with older paint
Recommended Articles

What Is Midcentury Modern Style? Here's What You Should Know
You've probably heard of midcentury modern design. In addition to popping up on popular TV shows and movies, it's a favored interior design style, revered for its clean lines and simple, functional fu
Remodel vs. Renovation: What's the Difference, Really?
Remodel and renovation are often used interchangeably to refer to home upgrades. However, a remodel is not the same type of project as a renovation job. Here's what to know about the difference betwee
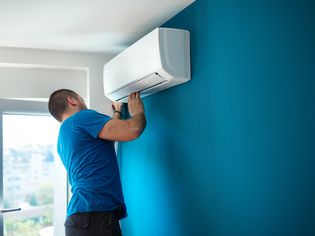
How Much Does an Air Conditioner Really Cost to Install? What to Know
The average air conditioner cost ranges from about $2,500 to $7,500, depending on the size of the system, the type of air conditioner, the efficiency rating, and several other cost factors. Use this g
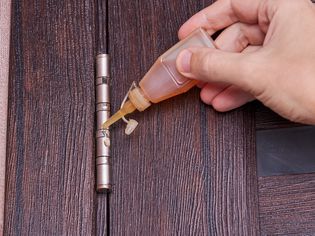
6 Easy Ways to Fix a Squeaky Door Right Now So You Can Finally Know Peace
A squeaky door is a constant annoyance. While a little bit of lubrication might quiet a squeaky door temporarily, constantly having to lubricate it is a telltale sign that something is wrong. If you f

7 Home DIY Projects You Can Do for Less Than $100—But Make a Big Difference
There are a number of budget-friendly home upgrades you can make for an instant refresh.Replacing kitchen faucets, cabinet hardware, electrical switches, and lighting all go a long way.Painting, insta
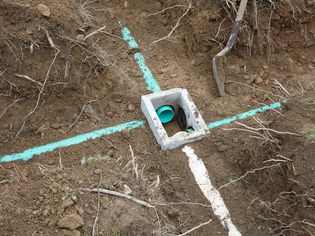
What Are Leach Lines, and When Should They Be Replaced?
If your home has a septic system, it has leach lines or a leach field. An essential component of all onsite wastewater systems, leach lines are the last step in a process that starts at your sink or t
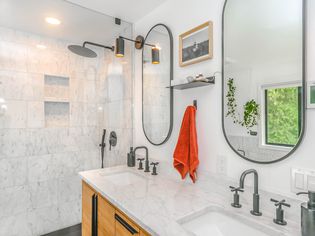
How to Choose the Right Shower Light
Showers tend to be dimly lit spaces. General bathroom lighting is usually adequate for minimal shower needs, but adding shower lights can immensely brighten the shower and let you see exactly what you

Kitchen Island Dimension Guide
When determining kitchen island dimensions, you'll need to consider many things, including its size, shape, and function. A properly sized kitchen island will not eat up too much space, impede kitchen