

While painting a room isn’t necessarily a difficult DIY job, it’s not always easy—how many coats does one wall need again?
There are a few critical ways to prepare before you get started on your paint project, as well as some things that you should consider as you go. If you’re planning to tackle any of your rooms with a paintbrush this year, it’s a good idea to make sure you’re approaching it strategically.
With this in mind, we turned to an expert for some guidance and advice.
Meet the Expert
Ryan Beery is a franchise owner of several Color World Painting locations, specializing in interior and exterior painting and product recommendations.
Safety First

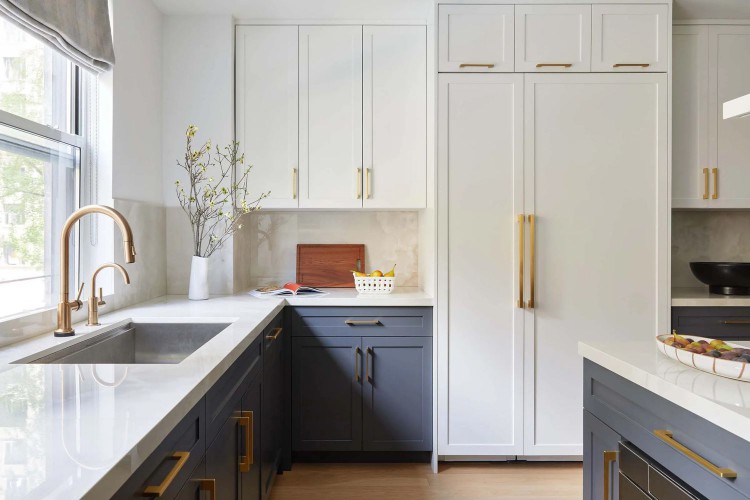
Dekay and Tate
According to Ryan Beery of Color World Painting, the first thing you should do to prep for a paint project is to assess any safety requirements specific to your home.
If your house was built before 1978, be leery of lead paint. Beery strongly advises that you purchase a lead test kit and educate yourself about lead safety—the EPA website is a valuable resource for this information.
Want more home reno project tips and inspiration? Sign up for our free daily newsletter for the latest how-tos, reno guides, and more!
Assemble Your Supplies
Preparing for a DIY job is a lot like preparing to cook a meal. You need to make sure you have everything you need on hand and ready to go so that once you open up that paint can, you don’t have to stop in the middle and run to the store.
Luckily, Beery shared his list of essential supplies.
- Painters tape
- Tarps for exterior projects
- Rosin paper for protecting interior floors, especially tile and hardwood
- A delicate surface tape to protect any varnished surfaces
- High-quality paint brushes
You also may need sanding sponges and joint compound depending on the scale of the project, Beery says.
Prepare Your Surfaces

The Spruce / Alyssa Vela
Painting pros know that slapping on a coat of paint isn’t as easy as it seems. As Beery points out, you need to ready your surface first to ensure the paint adheres to whatever it is you’re painting, be it a wall or cabinet.
“Make sure your surfaces are clean, dry, and dull,” he says.
How you prepare might depend on what material you’re facing. For example, exterior surfaces should be power-washed with a specific product made for oxidation, while anywhere with grease on the walls or ceiling should be washed with a degreasing cleaner. Then, they might need to be shellacked or bonded.
If you’re working with a more specific surface, like something glossy or with a high sheen, Beery suggests sanding with an abrasive pad or a pole sander, depending on the situation. These steps will all help with adhesion once you’re finally ready to paint.
Use This Painters Tape Hack
You probably already know the importance of using masking or painter's tape to mark off any edges or areas you want to avoid covering, but Beery gave us a great pro hack to keep your lines clean.
“Use a damp sponge on tape lines to help adhere the tape and prevent paint from getting under the edge, leaving a clean line when the tape is removed,” he says.
Similarly, any seals lining both garage doors and entry doors can cause a similar problem. In this case, Beery suggests using petroleum jelly to prevent the seals from adhering to the fresh paint.
Don’t Skimp on Quality
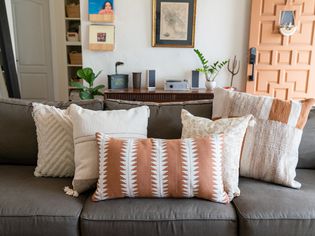
JLA Designs
Of course, there are plenty of budget-friendly paint options out there—but Beery says you should proceed with caution when it comes to choosing the right brand.
Using a high-quality paint, like PPG or Glidden, is crucial, he explains.
“Quality products provide better coverage, saving time and money by reducing the need for an additional coat—especially when you are making a color change," he says.
Don’t Rush That Second Coat
Beery says there are a lot of contributing factors when it comes to deciding on the best time to apply your next coat—temperature and product being two of them.
“On average, about four hours is recommended,” he says.
If you rush to apply a new coat too soon, Beery warns it can pull on the previous coat and leave brush marks or unwanted texture.
“This can also affect how the paint covers the previous color and can potentially create the need for an additional coat,” he says.
Recommended Articles
Guide to Common Fabric Patterns and Types
It's a common scenario: You're on the hunt for fabric swatches and can envision the exact fabric pattern you want, and it's stuck at the tip of your tongue. There are hundreds of fabric patterns and t
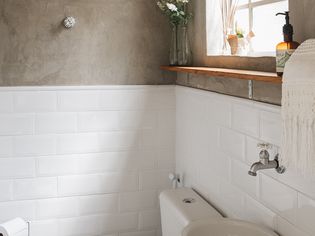
5 Best Bathroom Wall Options
Bathroom walls need materials that handle moisture well, as they face more humidity than walls in dry areas of a home. Selecting the right bathroom wall option is crucial to withstand this moist envir
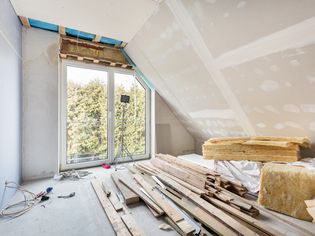
8 Home Renovations Homeowners Ended Up Regretting (and You Might Want to Skip Too)
If you're ever in doubt about whether you may regret a reno decision, Reddit is an excellent resource to reach out for advice, harrowing stories of regret, and to find out options that may work better

Electrical Wiring Color Coding System
Electrical wire color codes are part of a standard system that tells the user which wires carry a current and which wires are for ground or neutral purposes. Credit: The Spruce / Margot Cavin For exam
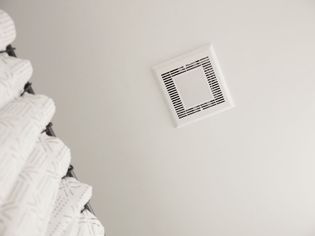
How to Choose a Bathroom Exhaust Fan
Bathroom exhaust fans are required by the NEC (National Electrical Code) and local building codes for any bathroom that doesn't have a window that can be opened to provide ventilation. In some jurisdi
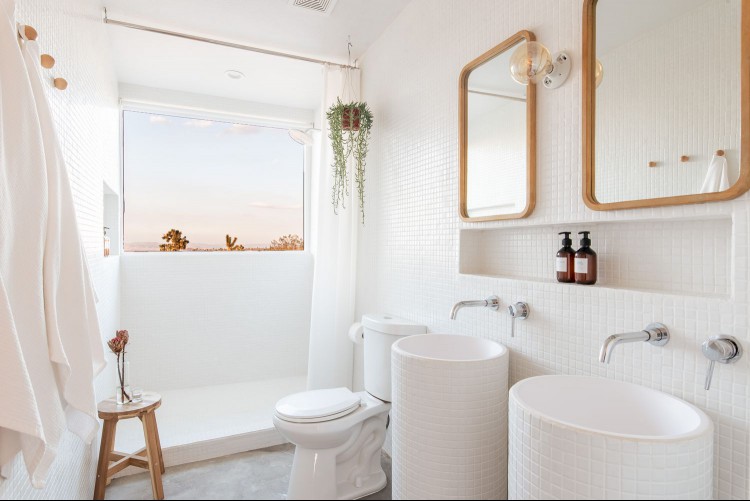
Comprehensive Guide to Remodeling a Small Bathroom
Homeowners often imagine that remodeling a small bathroom—about 50 square feet or less—will be much quicker, easier, and less expensive than remodeling a large bathroom. The reality is you may not sha

How Much Does It Cost to Paint Kitchen Cabinets? A Complete Guide
Painting kitchen cabinets can be a cost-effective way to refresh your kitchen when the cabinets show signs of wear, such as fading or chipping. Rather than replacing the kitchen cabinets, which can be
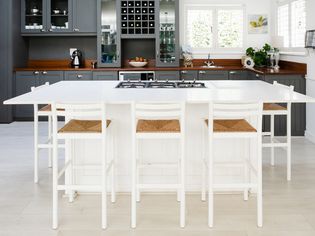
Kitchen Island Dimension Guide
When determining kitchen island dimensions, you'll need to consider many things, including its size, shape, and function. A properly sized kitchen island will not eat up too much space, impede kitchen