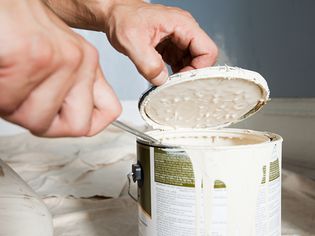
Painting is a DIY-friendly task, but if you’re a beginner, you might be stumped over how to even open the airtight lid on a paint can. Opening a paint can isn’t as easy as popping open a can of soda, but it’s not so difficult when you have the right tool.
Here, we’ll walk you through how to open a paint can using a variety of basic tools. We’ll start with the most obvious one of the bunch so you can first understand the motions required to open a can of paint, then decide for yourself which is the best tool for the job.
Paint Can Opener / Paint Key
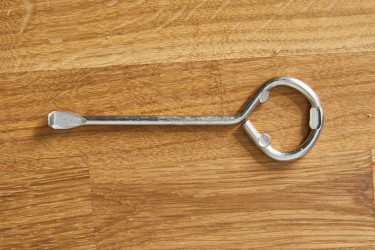
The Spruce / Margot Cavin
A paint can opener, sometimes called a paint key, might sound like a one-hit wonder in the tool world. But considering it usually costs around a buck and is quite competent in doing its job, it’s not at all cost-prohibitive to keep one around.
How it works: Insert the tip between the rim and the lid. Gently push down on the handle to pry open the lid. Move the tool around the lid until you can lift it off fully.
Flathead Screwdriver
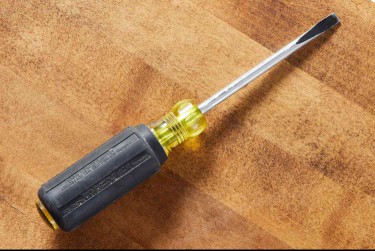
The Spruce / Jacob Fox
Chances are good that even an occasional DIYer has a flathead screwdriver on hand. A Phillips won’t work here because the larger tip likely won’t fit under the lid. Note: A screwdriver with a long handle is best for added leverage.
How it works: Insert the tip of the flathead under the edge of the lid and gently press down on the handle to pop the lid up. Move the screwdriver around the lid, repeating the motion, to take the lid off.
Putty Knife
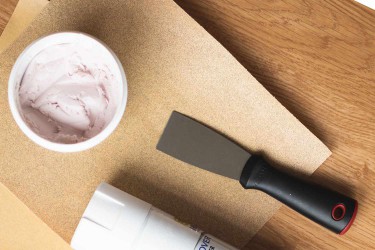
The Spruce / Meg MacDonald
By now you should get the hint that paint can lid removal requires a tool that’s thin yet sturdy. A putty knife can certainly do the job—just make sure to use a narrow, rigid one so you can slip it in the lid and use it for leverage.
How it works: Insert the edge of the putty knife under the lid and apply gentle yet firm pressure to raise it up, moving the knife around the can as necessary to pry it off.
Bottle Opener
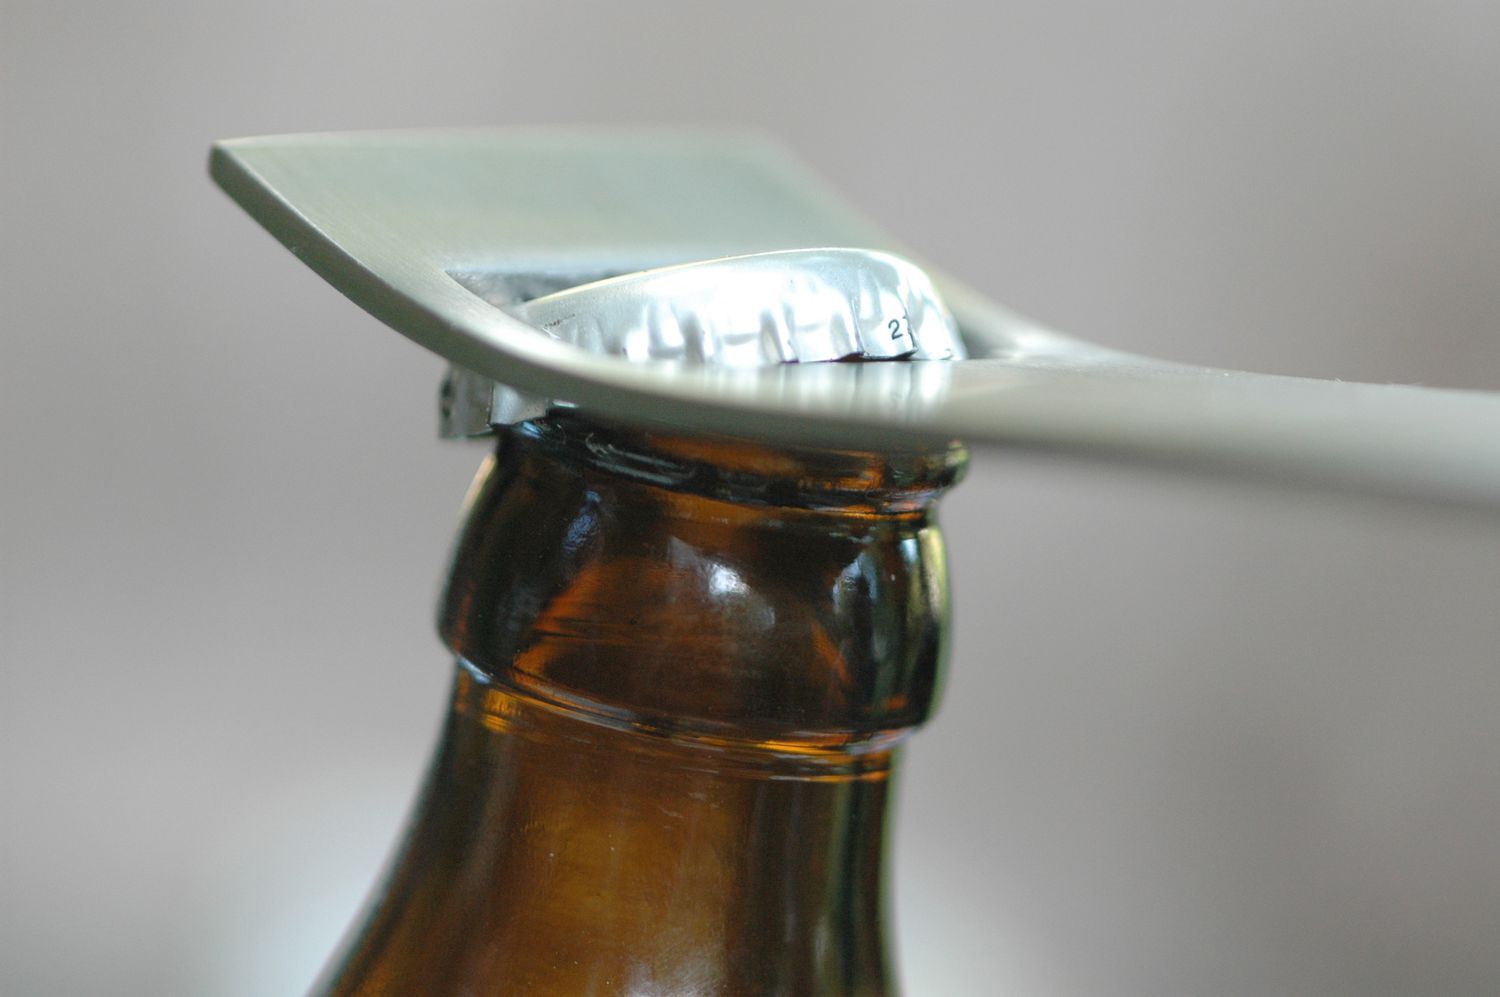
Westend61 / Getty Images
If you’ve got something that you use to open a bottle of beer or soda, it can also work on a paint can.
How it works: Insert the blunt end of the opener under the rim of the lid and gently pry it open; you can also use the pointy end, but be careful not to dent the lid.
Painter’s Multitool
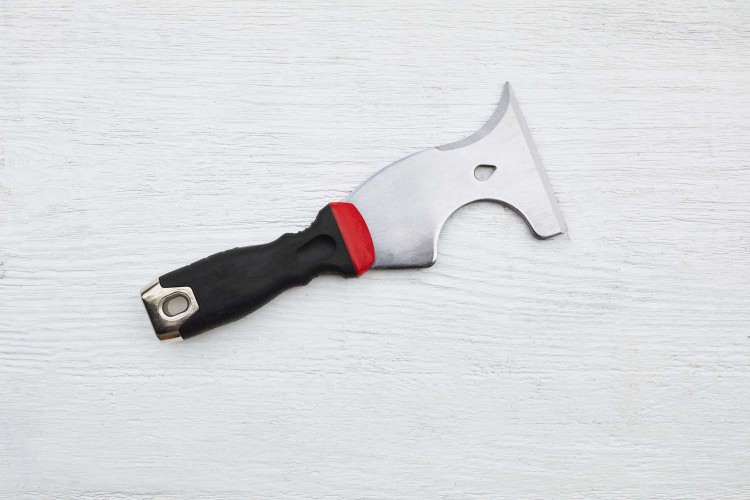
The Spruce / Adelyn Duchala
While the number of functions on a multitool will vary, there will be at least one paint can opener option. It’s a gadget that could be worth buying for the other features that will come in clutch during painting, especially cleanup; for example, some feature a paint roller cleaner.
How it works: Locate the can opener on the tool and use it to gently pry open the lid. You might even have additional options, like a putty knife or flathead screwdriver, so feel free to choose what’s easiest.
An Old Key

Etienne Jeanneret / Getty Images
“Old” is the operative word here; please don’t use a current set of home or car keys because you’ll risk bending or breaking them. But if there’s an old key languishing in a junk drawer because you can’t remember what actually opens, you might give it new life as a paint can opener.
How it works: Use it like an actual paint key; insert the flat side of the tip under the rim and press down on the key to gently pry open the lid.
Butter Knife
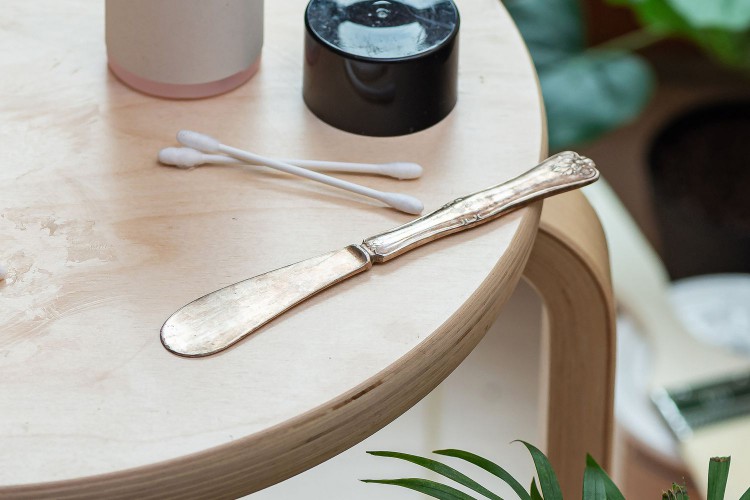
The Spruce / Ulyana Verbytska
Don’t attempt this move with silverware that’s been passed down through the generations. But if you are out of tools and ideas for opening a paint can, grab a butter knife from the kitchen drawer. Sure, you could use another type of knife, but anything sharper risks harming the paint can and yourself, so it’s not worth the attempt.
How it works: You know the drill by now: Insert the flat end of the knife under the lid and gently pry it open, moving about the lid as you do.
How to Prevent Spills When Opening a Can of Paint
Now that you know how to open a paint can, it’s time to learn a few best practices so you won’t proceed to spill it all over the place.
- Use a tarp or drop cloth. Even a pro wouldn’t start a painting project without one, so it’s fair to say you should only open a paint can over one to avoid ruining surfaces.
- Pry the lid open slowly. You'll want to use gentle motions to avoid bending the lid and so that it won't fly off and splash you or your home in the process.
- Secure the lid for later. Unless you plan to use the entire can of paint on the same day—a possibility, depending on the extent of your project—you’ll want to keep the lid clean. Wipe the edges of the lid and can so that no paint will get stuck and dry out, which will get in the way of reforming a seal. Store it in a zip-top plastic bag to keep it free of dust and dirt. Throw away the rag you used to clean it so you don't get paint on something else by accident, or place it on the tarp to dry before using it again.
How to Close a Can of Paint
Wipe any excess paint from the rim of the paint can after opening it, otherwise it will harden as it dries and make it difficult to reopen the can.
Place the lid on the can, then cover the entire top of the paint can with a rag or cloth to avoid splashing and to protect the lid. With a hammer or a rubber mallet, tap gently around the edge of the lid until it is securely in place.
- Can you use a hammer to open a paint can?
A hammer’s claw is likely too thick to wedge under the lid of the paint can and open it. Even if you could, you’ll wind up damaging the can and/or lid. If you are indeed that desperate to open a paint can with a hammer, do it on one you’ll be emptying completely so you won’t have to deal with storing extra paint in a damaged can.
How do you get a paint can lid off when it's stuck?To get a stuck paint can lid off, use a flathead screwdriver to scrape away dried paint from the lid’s rim, or dip a cloth in some warm water and wipe to loosen up any paint. As another option, if you have a can of WD-40, spray some around the rim and let sit for about five minutes before prying it open with your tool of choice.
Recommended Articles
 HOME-DESIGN-STYLES
What Is Midcentury Modern Architecture?
Known for clean lines, minimal decoration, and a connection with nature, midcentury modern architecture is an American classic that began after World War II. A midcentury modern house plan is characte
INTERIOR-DECORATINGReady, Set, Refresh: How to Update Your Home for the New Year
Welcome to 2024! With the holidays passing over and a fresh start ahead, we at The Spruce think the new year is the perfect time to give your home a (likely) much-needed refresh. Think of how you used
ROOM-DESIGN-AND-DECORATING6 Kitchen Finishes Designers Recommend If You’re Tired of Stainless Steel
Key Points Pros suggest finishes like matte black, glass, or enamel to add personality and warmth.Matte black hides smudges, glass makes small kitchens feel bigger, and enamel brings vintage charm.Peo
ROOM-DESIGN-AND-DECORATINGThe Worst Pieces of Design Advice Designers Have Seen on TikTok
We love how much interior design inspiration we find on social media these days, but for as often we see great insight and advice, we see plenty of cringe-worthy tips, too. While style is, of course,
INTERIOR-REMODEL-AND-REPAIRAttic Fan: What Are the Pros and Cons of Installing One?
Keeping a house cool and well-ventilated is important for its residents' comfort and the house's health. Attics must stay dry and climate-conditioned to prevent mold and ice dams from developing on th
INTERIOR-REMODEL-AND-REPAIRRemodel vs. Renovation: What's the Difference, Really?
Remodel and renovation are often used interchangeably to refer to home upgrades. However, a remodel is not the same type of project as a renovation job. Here's what to know about the difference betwee
INTERIOR-REMODEL-AND-REPAIR8 Popular DIY Projects That Can Decrease Your Home's Value, a Real Estate Agent Says
Tackling DIY home improvement projects can make your home look better, be more functional, and can even increase the value of the home, making it a better investment for when you eventually sell. Howe
HOME-IMPROVEMENTHouse Renovation Guide: How to Plan and Prepare
House renovation is less extensive than remodeling since it involves more cosmetic than structural changes. Both can be expensive, especially if you update bathrooms, kitchens, or rooms by changing ou