Painter's tape is used to prep a surface before painting to mask off edges, ensure sharp lines, or create designs. Knowing how to tape a room and remove painter's tape can impact the success of your paint job. Rather than removing the tape immediately after painting when the surface is still wet, it's best to wait for the paint to dry to the touch before peeling off the tape. Learn more about when to remove painter's tape and why it matters.
What Is Painter's Tape?
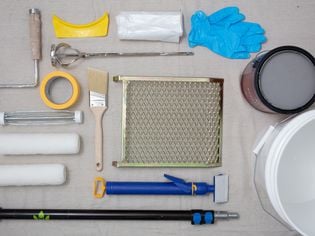
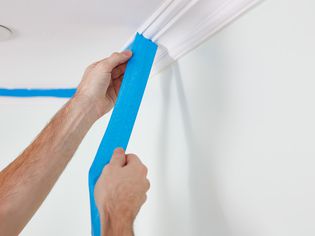
Painter's tape is a low-stick tape formulated for painting projects and typically applied to baseboards, moldings, and trim around doors, ceilings, and windows. (It's possible to paint without tape using the cutting-in technique.) Painter's tape has a less aggressive adhesive typically found on masking or duct tape. Aggressive adhesive can peel away dried paint during removal. Certain brands of painter's tape have different levels of adhesive that allow you to leave the tape in place longer or require you to remove the tape quickly after painting.
The Spruce / Margot Cavin
When to Remove Painter's Tape
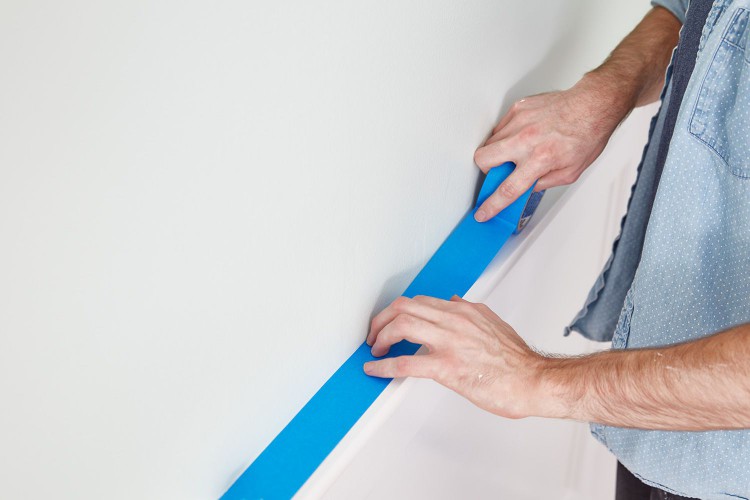
Each brand of painter's tape has instructions on how long you can leave the tape in place. Here are a few general tips for the best time to remove painter's tape so your paint job looks professional:
- Let the paint dry to the touch on most projects. That could mean within an hour or two. Do not remove painter's tape after the paint has fully cured or there's the risk of taking off some dry paint when peeling it off.
- Consider the number of coats you're painting. If it's a quick, straightforward paint project that needs two or more coats, consider retaping the area each time you add a coat. However, you don't need to retape between coats, especially for large projects.
- Leave the tape up for complicated projects. If the paint job is complex with intricate corners and lines, consider leaving the tape until all the coats are complete. However, many professional painters retape intricate corners between coats of paint so it's your preference.
- Many products will be specified as "14-day" removal. This type of painter's tape can be left in place for up to 14 days without leaving a sticky residue. If the tape is left up longer, however, there's the risk of adhesive residue left behind on the woodwork or walls when the tape is finally removed.
How to Remove Painter's Tape
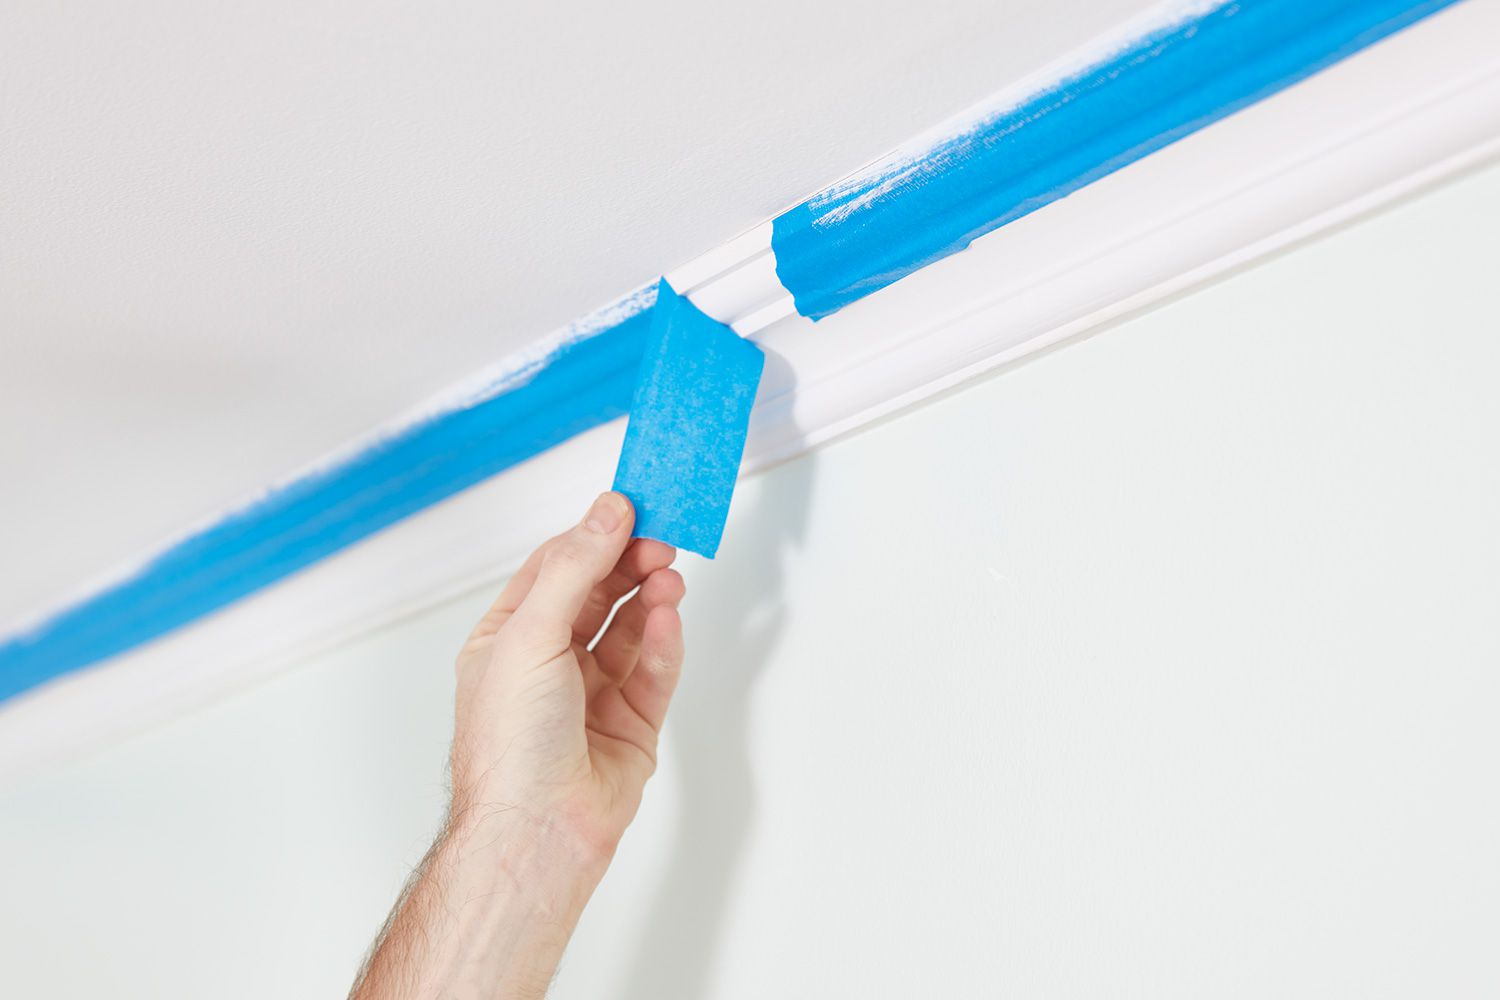
Removing painter's tape requires a light touch rather than aggressively pulling it off the surface. Here are tips to make the job easier so your paint job looks sharp.
- Go slow. Begin at one end of the tape and pull the strip back on itself in a steady, slow motion.
- Remove the tape at an angle. Pull the tape back at a 45- to 90-degree angle. This angle helps the tape cut through the dried paint to create a crisp, sharp edge.
- Have a blade ready. If the tape tears or fails to pull away, use a sharp utility knife or razor blade and carefully slice through the stuck paint to remove the tape.
- Can painter's tape be left on too long?
Yes, painter's tape that is left on too long (usually over 14 days) bonds with the paint. The result will be chips of paint that come off as you try removing the tape, leaving an uneven edge.
Should I remove painter's tape between coats of paint?It is up to you if you want to remove painter's tape between coats though it is not always necessary, especially if the project has intricate corners and lines. However, some painters prefer to refresh the painter's tape between coats.
How long should I wait to retape after painting a coat?If you do want to retape, wait until the coat of paint is dry, usually about 24 hours, before retaping for the next coat. If retaping, consider using painter's tape with very low tack or adhesive, as some products are formulated for delicate surfaces and could be beneficial when painting a second coat.
Recommended Articles
 PAINTING
Spray Painting vs. Painting With a Roller: Which Is Best?
Should you use a paint sprayer or a paint roller when you are painting your home's interior or exterior? Paint spraying is fast and capable of covering rough textures that rollers can't touch, yet the
SMALL-SPACES6 Designer Tips for Creating a Small Luxurious Patio You'll Love to Entertain In
Just because your patio space is on the smaller side doesn't mean that you can't turn it into a luxurious outdoor oasis. Here, we've spoken with interior designers who share some of their top tips for
INTERIOR-DECORATINGWarm Lighting Basics You Should Know
Warm lighting feels natural to us in the evenings and promotes relaxation. Our circadian rhythm (the body and brain's natural 24-hour cycle of changes) relies on warm lighting to help us unwind, relax
ROOM-DESIGN-AND-DECORATINGIf You're Still Doing This in Your Kitchen, Designers Say It Will Always Look Cluttered
Key Points Keep counters clear by only displaying essential appliances for a clean, minimalist look.Use smart storage like appliance garages, hidden outlets, and bar carts to reduce clutter.Declutter
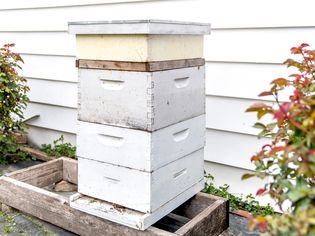
OUTDOOR-BUILDING15 Free Beehive Plans
Whether you're just getting started with beekeeping, or if you've already got established colonies, you may decide that building a beehive is for you. These beehive plans are a fairly straightforward
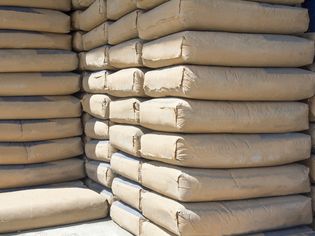
OUTDOOR-BUILDINGHow to Calculate How Much Concrete You Need
For projects around the home like patio slabs, fence posts, walkways, and more, you'll need to know how to calculate how much concrete you need. Online calculators and tables are helpful. But those ca
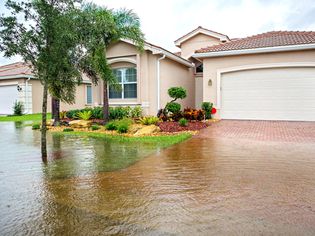
EXTERIOR-REMODEL-AND-REPAIR19 Home Updates You Need to Make Before Extreme Weather Hits, Home Pros Say
Most homes aren't prepared for extreme weather, whether it be strong winds, flooding, wildfires, or other events. Luckily, there are some renovations you can do to prepare your home for extreme weathe
BATHROOM-REMODEL-AND-REPAIRDiagnosing Faucet Leaks
Some faucet leaks are pretty obvious to spot—when a faucet drips from the spout, even when the handle is turned off, there is no misunderstanding about the fact that your faucet is leaking. However, n